caltechdata_api
CaltechDATA Command Line Interface (CLI) Documentation for Users
Contents
-
2.1 For Mac OS Users
-
Interacting with the CaltechDATA CLI
3.1 CaltechDATA and the CaltechDATA Test Instance: Which Should I Use?
3.2 Creating A Token
3.3 What Files You’ll Need to Create A New Dataset
3.4 For Mac OS Users and and Windows Subsystem for Linux Users
Introduction
The CaltechData CLI is a command line interface that automates creation and upload of records to CaltechDATA. Large data uploads are currently for test purposes only; please email data@caltech.edu if you have large data distribution needs.
Setup and Installation:
Requirements for a successful setup: you must have Python 3.6 or a later version installed on your system.
For Mac OS Users:
Step 1:
Please open the Terminal.
Step 2:
Please install the Caltechdata_api Library via pip using the command shown:
pip install caltechdata_api
For Windows Users:
Step 1:
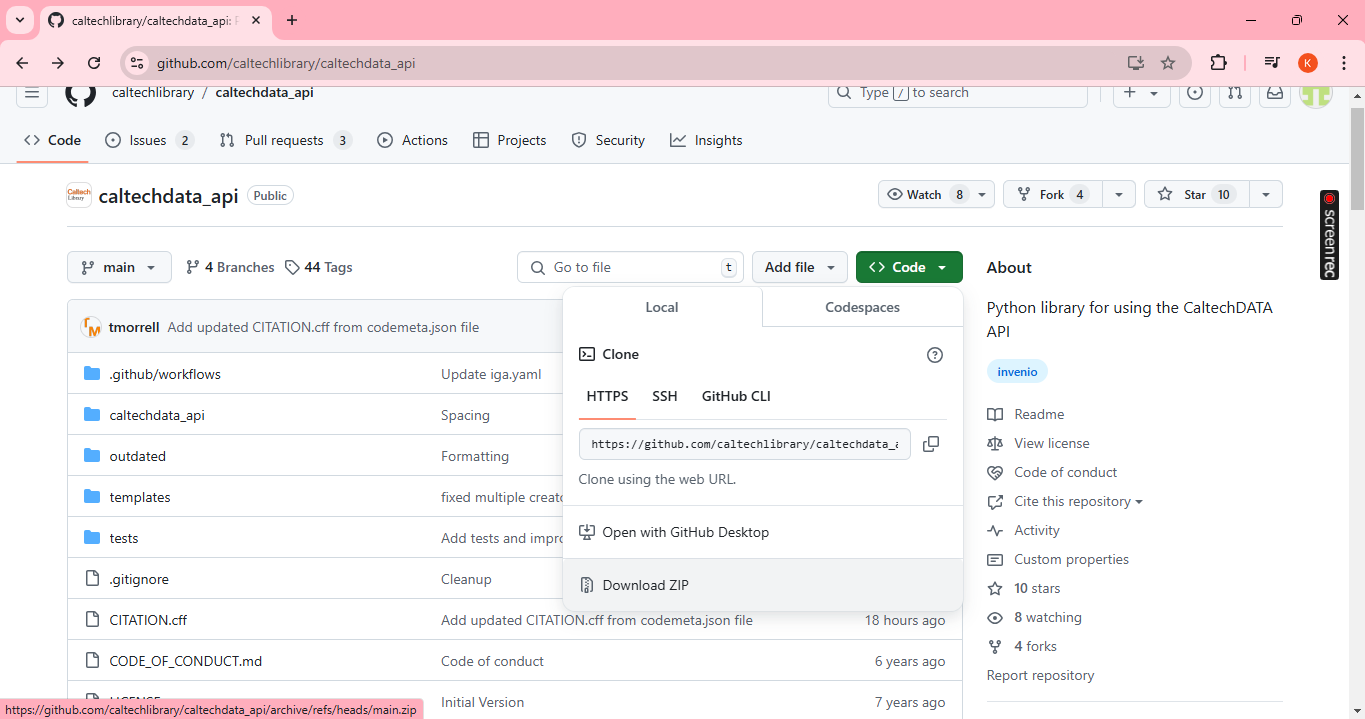
Please go to https://github.com/caltechlibrary/caltechdata_api.git and click the green button that says “<> Code”. Then choose the option that says “Download ZIP”.
Step 2:
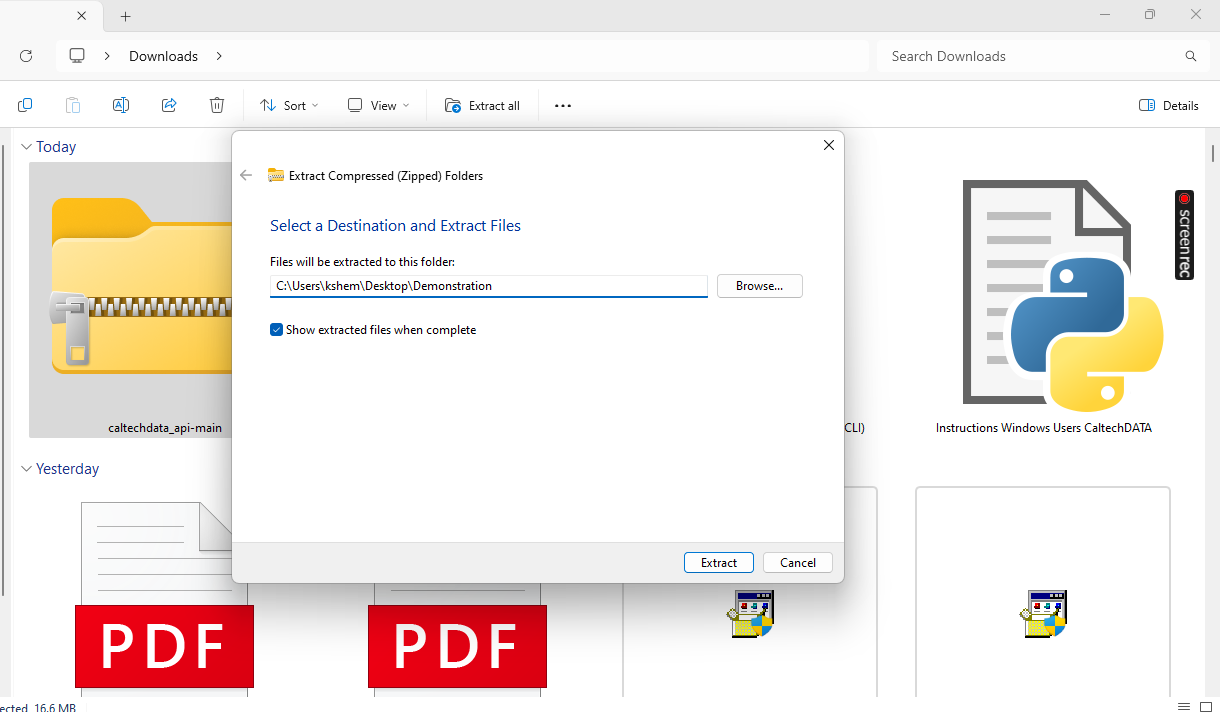
Please extract the files from the downloaded zip file to a new folder (we recommend this folder be on the desktop and that you name this folder something easy to recall).
Step 3:
In the next few steps, we shall change the directory to the folder called “caltechdata_api” inside the folder you extracted from the downloaded ZIP file. To do this, please go to the file you saved either on the file manager or on its location (this would be the desktop if you saved it there). Then, please open the folder called “caltechdata_api_main” and then right click on the folder inside it called “caltechdata_api” and choose the option that says “copy as path”.
.png)
Above: Open the file on file manager as shown.
.png)
Above: Go into the folder caltechdata_api_main.
.png)
Above: Right click on the folder called caltechdata_api and choose the option that says copy as path.
Step 4:
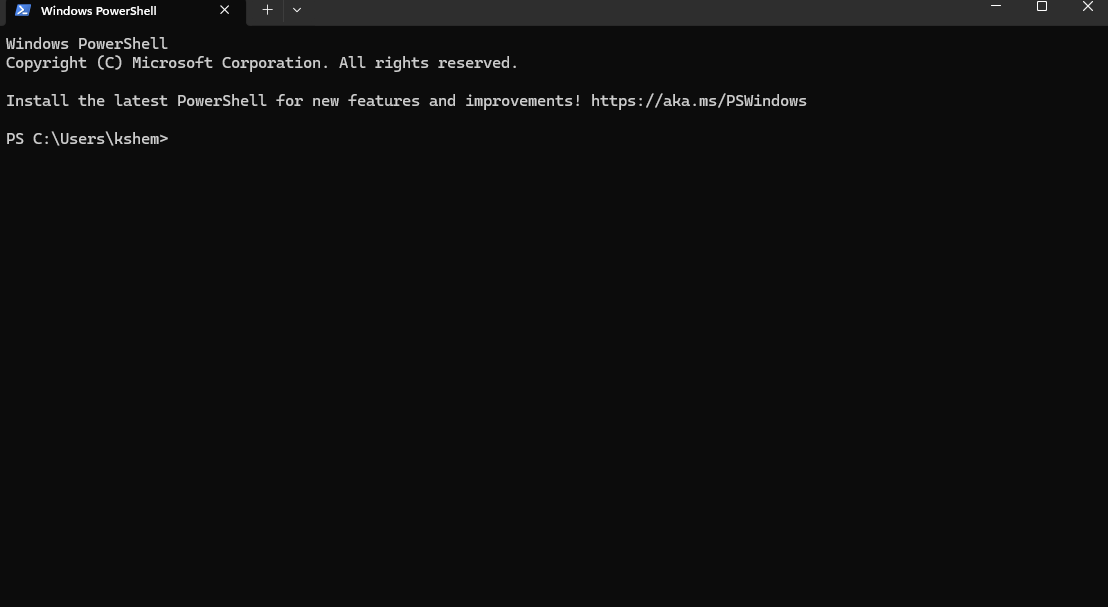
Next, please open a the Windows PowerShell or a code editor (we recommend using VSCode if you choose to use a code editor) and then open its Terminal.
.png) Above: Using Visual Studio Code (VSCode)
Above: Using Visual Studio Code (VSCode)
.png) Above: Using Windows PowerShell
Above: Using Windows PowerShell
Step 5:
Next, please open the dropdown menu near the “+” icon on the top right hand corner of the terminal and choose the option that says “Git Bash”. You can skip this step and go directly to the next step if you are using the Windows Powershell.
Step 6:
Then, please type in the command as shown:
cd <paste the file path you copied here>
For example, it could look like this:
cd "C:\Users\kshem\Desktop\Demonstration\caltechdata_api-main\caltechdata_api"
.png) Above: Using Visual Studio Code (VSCode)
Above: Using Visual Studio Code (VSCode)
.png) Above: Using Windows PowerShell
Above: Using Windows PowerShell
Windows Subsystem for Linux Users:
The Windows Subsystem for Linux (WSL) lets developers install a Linux distribution (such as Ubuntu) and use Linux applications, utilities, and Bash command-line tools directly on Windows. 1. In order to interact with the CaltechDATA CLI, you may use a BASH terminal on WSL.
Step 1:
First, please install the Windows Subsystem for Linux (WSL). To do this, please run the following command in a Windows Powershell terminal:
wsl --install
When prompted, please enter a password and keep a record of it ready for future reference.
Step 2:
If you do not already have some version of python 3 installed on your system, please run this command in the Windows Powershell terminal:
sudo apt install python3
Please note that the password you set while installing the Windows Subsystem for Linux (WSL) in the previous step is necessary to run this command (and any other sudo apt install commands).
Step 3:
Next, please install pipx. To do this please run the following command in a Windows Powershell terminal:
sudo apt install pipx
Please note that the password you set while installing the Windows Subsystem for Linux (WSL) in the first step is necessary to run this command (and any other sudo apt install commands).
Step 4:
Next, please ensure path. To do this, please run the following in a Windows Powershell terminal:
pipx ensurepath
Step 5:
Now, we shall install caltechdata_api. To do this, please run the following command in a Windows Poweshell terminal:
pipx install caltechdata_api
Interacting with the CaltechDATA CLI
The CaltechDATA Command Line Interface (CLI) helps you interact with the CaltechDATA repository to upload research data, link your data with your publications, and assign a permanent DOI to your dataset so that others can reference the dataset. You can access the datasets you create or edit at https://data.caltech.edu/.
The Test Instance or the CaltechDATA Repository
If you would like to create and edit a test record of your datset before uploading it to the CaltechDATA Repository and generating a permanent DOI, you can also use the CaltechDATA Command Line Interface (CLI) to interact with the test instance of the CaltechDATA Repository that you can access at https://data.caltechlibrary.dev/.
We recommend using the CLI to interact with the test instance if you experimenting and are not ready to generate a permanent DOI. It is difficult to remove records in the main CaltechDATA repository, but easy to do so in the test repository. In general, users create and edit datasets in the same way regardless of whether the dataset exists on the original CaltechDATA Repository or the test instance.
Creating A Token:
In order to create or edit datasets you’ll need to create a token. In order to this, you’ll need to open the platform you are uploading your dataset to (the original CaltechDATA Repository or the test instance of it) and log in. Then follow these steps:
Step 1:
Please click the person icon appearing on the top right and choose “Applications” from the dropdown menu that appears.
Step 2:
Next, please click the option that says “New Token” and name your token.
What Files You’ll Need to Create A New Dataset:
In order to create a new dataset, you will need a:
1) File containing your dataset (csv or json file) 2) A metadata file (json file)
We use a customised version of Datacite 4.3 Schema which you can download here. Otherwise you can use your own.
For MacOS Users and Windows Subsystem for Linux (WSL) Users:
Please run the command shown in order to interact with the CaltechDATA Repository:
caltechdata_api
Otherwise, please run the command shown to interact with the test instance of the CaltechDATA Repository:
caltechdata_api -test
For Windows Users:
Step 1:
To interact with the CaltechDATA Repository, please type in this command as shown to open and run the CaltechDATA Command Line Interface (CLI):
python cli.py
.png) Above: Using Visual Studio Code (VSCode)
Above: Using Visual Studio Code (VSCode)
.png) Above: Using Windows PowerShell
Above: Using Windows PowerShell
Otherwise, to interact with the test instance of the CaltechDATA Repository, please type in this command as shown to open and run the CaltechDATA Command Line Interface (CLI):
python cli.py -test
 Test Instance.png) Above: Using Visual Studio Code (VSCode)
Above: Using Visual Studio Code (VSCode)
 Test Instance.png) Above: Using Windows PowerShell
Above: Using Windows PowerShell
Step 2:
Although the CLI setup is complete, there is one additional step required before you can begin interacting with the CLI.
Note that the terminal is now present in the “caltechdata_api” folder or directory and can only access the files there. Please save the files you would like to upload in this particular folder. To check if your files are in this folder and thus, visible to the terminal you can run the following command to display the files in the current directory:
dir
.png) Above: Adding your files to the directory
Above: Adding your files to the directory
.png) Above: Using Visual Studio Code (VSCode)
Above: Using Visual Studio Code (VSCode)
.png) Above: Using Windows PowerShell
Above: Using Windows PowerShell
Troubleshooting
General Troubleshooting and FAQs:
My ORCID doesn’t work:
Please try to input the ORCID without any hyphens.
What is my unique identifier/record id?
Your record id is the last part of the DOI link your dataset is linked to. It is the part that comes after the last forward slash. For example: if your DOI link is https://doi.org/10.33569/5t2wh-1e586, then your record id is 5t2wh-1e586.
Windows Subsystem for Linux Troubleshooting and FAQs:
How can I open the Windows Subsystem for Linux after installation?
To do this, please run the following command in a Windows Powershell terminal:
wsl
Contact Us
For further questions, email data@caltech.edu or visit the FAQs at CaltechDATA.