Installation and operation
On this page, you may wish to follow one of the following paths based to your situation. (Note: the boxes in this diagram are clickable links to the sections in question.)
        flowchart TD;
  node1(Preliminary requirements)-->node2(Installation);

  node2-->node3(Configuring DIBS for a local test);
  node2-->node4(Configuring DIBS for multiuser use);

  node3-->node5(Running DIBS in test/debug mode);
  node4-->node6(Running DIBS in production);

  style node1 fill:white, stroke:orange;
  style node2 fill:white, stroke:orange;
  style node3 fill:white, stroke:orange;
  style node4 fill:white, stroke:orange;
  style node5 fill:white, stroke:orange;
  style node6 fill:white, stroke:orange;

  click node1 "/dibs/installation.html#preliminary-requirements" _self;
  click node2 "/dibs/installation.html#installation" _self;
  click node3 "/dibs/installation.html#configuring-dibs-for-a-local-test" _self;
  click node4 "/dibs/installation.html#configuring-dibs-for-multiuser-use" _self;
  click node5 "/dibs/installation.html#running-dibs-locally" _self;
  click node6 "/dibs/installation.html#running-dibs-in-production" _self;
Preliminary requirements
The core DIBS server is written in Python 3 and makes use of some additional Python software libraries that are installed automatically during the installation steps. It also assumes a Unix-like environment (Linux, macOS) and a working Internet connection.
Although DIBS relies on the existence of a IIIF image server, for initial exploration, you don’t need to set up a IIIF server – you can reference content located in any of a number of publicly-accessible IIIF servers around the world, and DIBS includes a sample IIIF manifest as an example of doing that. Thus, in principle, all you need to run the DIBS demo is a Unix-like system (Linux, macOS), a Python installation, the DIBS source code, and an Internet connection.
To run a proper DIBS server at another institution (other than Caltech), certain additional things are needed:
A IIIF server. At Caltech, we use a serverless component running on an Amazon cloud instance, but many other IIIF server options exist. If you’re looking at DIBS, presumably it means you want to serve content that is not freely available in a public IIIF server, which means you will need to set up a server of your own.
A web server to host DIBS. The current version of DIBS has only been tested with Apache2 on Linux (specifically, Ubuntu 20) and macOS (specifically 10.14, Mojave). DIBS comes with a WSGI adapter file adapter file and sample config file for Apache, but it should be possible to run DIBS in other WSGI-compliant servers.
An authentication layer. DIBS assumes that the web server takes care of user authentication in such a way that DIBS is behind the authentication layer and all users who can reach DIBS pages are allowed to view content. DIBS itself only implements checks to distinguish between regular users versus staff who are allowed to access restricted pages. For the authentication layer, at Caltech we use the Shibboleth single sign-on system, but it is possible to use other schemes. For a local server behind firewalls, Apache Basic Authentication can also be used. The installation and configuration of a single sign-on system depends on the specifics of a given institution, and are not described here.
The use of FOLIO LSP or TIND ILS for retrieving metadata based on barcodes or unique identifiers, or a willingness to extend the existing metadata retrieval layer in DIBS. We strove to limit dependencies on external systems, but the interface for staff to add items to DIBS requires looking up some limited metadata based on an item’s barcode, and lacking a universal scheme to do that, we had to write our own interface layer. The use of another LSP will require extending this interface layer. (Thankfully, the code is short and the amount of metadata required is small.)
Modification to the HTML templates to change the branding. The template files in
dibs/templatesare specific to Caltech, and will need to be edited to suit another installation. (We are open to making the branding customization easier and would welcome a pull request for suitable changes!)
Installation
Installing DIBS is simple. It only requires downloading a copy of the software, installing Python software dependencies, and editing a configuration file. DIBS currently does not have separate installation destination – running DIBS means running it from the source directory.
Download a copy of the software
There are several ways of getting the latest release of the DIBS source code. Here is one of the simplest:
Go to the releases page in the GitHub repository for DIBS.
Find the latest release there (normally the first one on the page).

Find the Assets section of the release.
Click on the link titled Source code (zip); it will be downloaded.
Unzip the file.
The result will be a subdirectory named dibs, which contains the source code. It should look more or less like this:
├── CHANGES.md
├── CITATION.cff
├── CODE_OF_CONDUCT.md
├── CONTRIBUTING.md
├── INSTALL-Python3.md
├── INSTALL.txt
├── LICENSE
├── LICENSE.html
├── Makefile
├── People-Manager.md
├── README.md
├── SUPPORT.md
├── adapter.wsgi
├── admin/
├── codemeta.json
├── data/
├── dev/
├── dibs/
├── dibs.conf-example
├── docs/
├── htdocs/
├── requirements.txt
├── settings.ini-example
├── setup.cfg
├── setup.py
├── tests/
└── viewer/
Install Python dependencies
Assuming that your copy of DIBS is in a subdirectory named dibs (as it would be after the previous step), change your shell’s current working directory to that directory, and run the following command to install the Python dependencies on your system or your virtual environment:
python3 -m pip install -r requirements.txt
Configuration
If you are new to DIBS and all you want to do is test drive it, you can follow the instructions in the first subsection below. If you are setting up DIBS for multiuser use, you can jump ahead to the second subsection.
Configuring DIBS for a local test
DIBS comes with an example IIIF manifest that uses a public IIIF server operated by the Wellcome Library. (Thank you, Wellcome Library!) This makes it possible to run a local copy of DIBS without much effort. Please follow the simple steps below.
① Create the settings.ini file
The file settings.ini-example is a sample configuration file. For a test run of DIBS, it is enough to simply copy the example to create settings.ini:
cp settings.ini-example settings.ini
⓶ Load a sample book into DIBS
Prior to starting the DIBS server for the first time, for testing purposes, you may want to add some sample data. This can be done by running the script load-mock-data located in the admin subdirectory of the DIBS source code tree.
admin/load-mock-data
⓷ Set a sample user’s role
The program people-manager in the admin subdirectory is an interface for adding user and role information. To be able to manage DIBS content, create at least one user with a role of “library”. Suppose you want to name your sample user “dibsuser”, then you could run the following command:
admin/people-manager add role="library" uname="dibsuser"
After this, proceed to the section on Running DIBS locally below.
Configuring DIBS for multiuser use
Setting up an actual server in an institutional setting will require a little bit more configuration work, as well as a IIIF server that you can use.
① Create and edit the settings.ini file
Certain characteristics are configured using a file named settings.ini, which DIBS looks for in the dibs directory. The file settings.ini-example is a sample configuration file for DIBS. Copy the file to settings.ini,
cp settings.ini-example settings.ini
then edit its contents in a text editor to suit your local installation. The comments in the file explain what each of the variables does, but we elaborate on some notable variables below:
LSP_TYPE: When items are added to DIBS via the web form, the system looks up basic metadata about an item in an LSP or ILS. This variable determines the adapter layer used. Currently, the only two options arefolioortind. Also make sure to set the corresponding variables in the sections for[folio]or[tind], respectively, near the bottom of thesettings.inifile.MANIFEST_DIR: This variable sets the path to the directory where DIBS looks for manifest files. Each file name should follow the patternN-manifest.json, whereNis the item barcode. The source distribution of DIBS comes with a sample manifest for illustration purposes.PROCESS_DIR: The section on the scanning workflow describes the basic scheme that DIBS implements for initiating an external workflow that will convert book scans into the format needed by IIIF. This scheme involves reading and writing files to the directory indicated by the variablePROCESS_DIRin the settings file. When a new item is added to DIBS from the /list page, a button named is shown next to the new item; when library staff press that button, DIBS writes a file in thePROCESS_DIRlocation and watches for the presence of other files. The end point of the workflow is assumed to be the appearance of a IIIF manifest for the item in theMANIFEST_DIR. f you do not want to use the workflow scheme, leave this value empty; DIBS will skip the button, and will only monitor for the existence of the manifest file.IIIF_BASE_URL: The value of this variable should have the formhttps://youriiifserver.yourdomain.edu/iiif/2, and it should be the common base for IIIF URLs served by your IIIF server. (This means that the value should appear throughout your manifest files, as the common root of all page images.) This URL will not be shared with clients. You should protect this URL from becoming public if you are making copyrighted works available via DIBS, because knowledge of this URL would allow anyone with familiarity with IIIF to bypass restrictions in DIBS and access your IIIF content directly. When DIBS reads a manifest, it replaces all instances of the value ofIIIF_BASE_URLwith a URL rooted at the DIBS server’s address, and this modified manifest is what it serves to clients. When a client requests page images via the translated URL, DIBS reverses the transformation to construct the IIIF URL from where it can get the page image, and then returns that data back to the client. The client never sees the real URL of the IIIF server or the images. The controlled digital lending aspect of DIBS is that it also refuses to return IIIF content unless the client has been authenticated and the user has borrowed the item through DIBS’ loan system.MAIL_HOST,MAIL_PORT,MAIL_SENDER: When a patron starts a loan, DIBS send send them an email message that summarizes information about the loan, including a link to the viewer page. The destination address for the email message is the sign-on received from the authentication layer. The variablesMAIL_HOST,MAIL_PORT, andMAIL_SENDERset the mail server details used by DIBS. Note that for this to work, the account owning the web server process must be able to send email from the machine where the web server is running to the patrons.FEEDBACK_URL: After a patron ends a loan, they are taken to thank-you page on which is shown a link to a feedback page. This variable sets the web address of the feedback form. At Caltech, we use a simple Google form with only three questions; you may wish to do something similar, or perhaps use an existing issue tracking/feedback system at your site.RUN_MODE: This variable takes one of two values:normalorverbose. Inverbosemode, DIBS logs debug-level information in the server logs (or the standard output, if being run using therun-serverprogram included with DIBS). Patron names/email addresses are anonymized, so there is relatively little privacy risk in running inverbosemode in production. It can be very useful to useverbosemode while learning how DIBS works, even if you later decide to switch tonormal.
⓶ Set up authentication for DIBS
The details of this step depend on your particular institutional requirements and local system configuration. If you are using a single sign-on system such as Shibboleth, you may need to do configuration and other steps in your server environment, but it is beyond the scope of this document to explain how that can be done.
If you are setting up a server behind a firewall (perhaps for local development of a new DIBS site, or within some other closed environment) and want to use basic authentication in Apache, take the following steps:
Uncomment the variables
HTPASSWDandPASSWORD_FILEin yoursettings.inifile, and set them to point to thehtpasswdprogram on your system and the file you will use to store encrypted passwords, respectively.Enable
AuthType Basicin your Apache configuration. The location of the configuration file depends on the way Apache is set up on your system; as an example, on our internal development server running on Ubuntu the location is/etc/apache2/sites-available/apps-le-ssl.conf. Here’s an example of what the configuration can look like:# DIBS comes with an adapter.wsgi file ready to use. WSGIScriptAlias /dibs /var/www/sites/dibs/adapter.wsgi <Location /dibs> AuthType Basic AuthName "DIBS" AuthBasicProvider file AuthUserFile "/var/www/sites/dibs/password.txt" require valid-user </Location>
The value of the AuthUserFile must match the path in PASSWORD_FILE used in the DIBS settings.ini file.
⓷ Add staff users
As mentioned above, DIBS needs to distinguish between users who are allowed to perform administrative tasks (such as adding new items for loans and setting loan parameters) and regular users. The program people-manager in the admin subdirectory is an interface for telling DIBS about users who have staff privileges. To be able to manage DIBS content, create at least one user with a role of library.
If you are using Apache basic auth, people-manager will also allow you to add entries (with passwords) to the password file indicated by the PASSWORD_FILE variable in DIBS’ settings.ini file.
The user name must be given as the name used by people in the authentication system (e.g., the SSO sign-on login name, if you use SSO). For example, to make fakeuser2021@someuniversity.edu be recognized as having staff privileges, you would run the following command:
admin/people-manager add role="library" uname="fakeuser2021@someuniversity.edu
④ Set permissions on important DIBS directories
A server process such as Apache normally runs with a user identity and group identity that is different from real user accounts on the server computer. This means that the files and directories for DIBS, when they are installed by a user on the computer, may have different ownership and permissions than are needed by the web server process. To make sure that the web server process can read and write to the directories, DIBS comes with a small program to set permissions on certain critical DIBS files and directories. Run this program as shown below, replacing PROCESS_USER and PROCESS_GROUP with the actual server process user and group (and note the use of sudo here):
sudo admin/set-server-permissions --owner PROCESS_USER --group PROCESS_GROUP
For example, on our servers, PROCESS_USER and PROCESS_GROUP are both www-data, so for our installation, the command uses the arguments --owner www-data --group www-data.
Note: make sure to run set-server-permissions after running people-manager for the first time, so that set-server-permissions can set the permissions on the DIBS database file.
⑤ Set up your IIIF server
A fully functioning DIBS installation requires a IIIF server where you put content to be served via DIBS. A final step is thus to set up a IIIF server for DIBS’ use. The instructions for doing so depend on the specific server used – please refer to the relevant documentation for whatever IIIF server you are using.
Once a IIIF server is running, set the value of the IIIF_BASE_URL variable in the file settings.ini appropriately.
Running DIBS
You can run DIBS on your local computer for initial exploration and testing, as well as during development and customization of DIBS. This is easy to do using the run-server program provided with DIBS. On the other hand, running DIBS on a real server, for actual use by patrons at your institution, requires the use of a full web server environment and other components. Both cases are described below.
Running DIBS locally
For local experimentation and development, the script run-server can be used to start a built-in web server on your computer. Since a local environment will not have the authentication layer normally assumed by DIBS, you need to tell the built-in web server who to pretend to be. For example, if you used people-manager to add a user named “dibsuser” as described in the section on configuration, then you can start the local server in debug mode like this:
admin/run-server --mode debug --debug-user dibsuser
This will start a local web server listening on localhost port 8080. Open a browser window on http://localhost:8080 and you should see the DIBS welcome page, as well as be able to see the “List” and “Loan statistics” options in the pull-down menu:
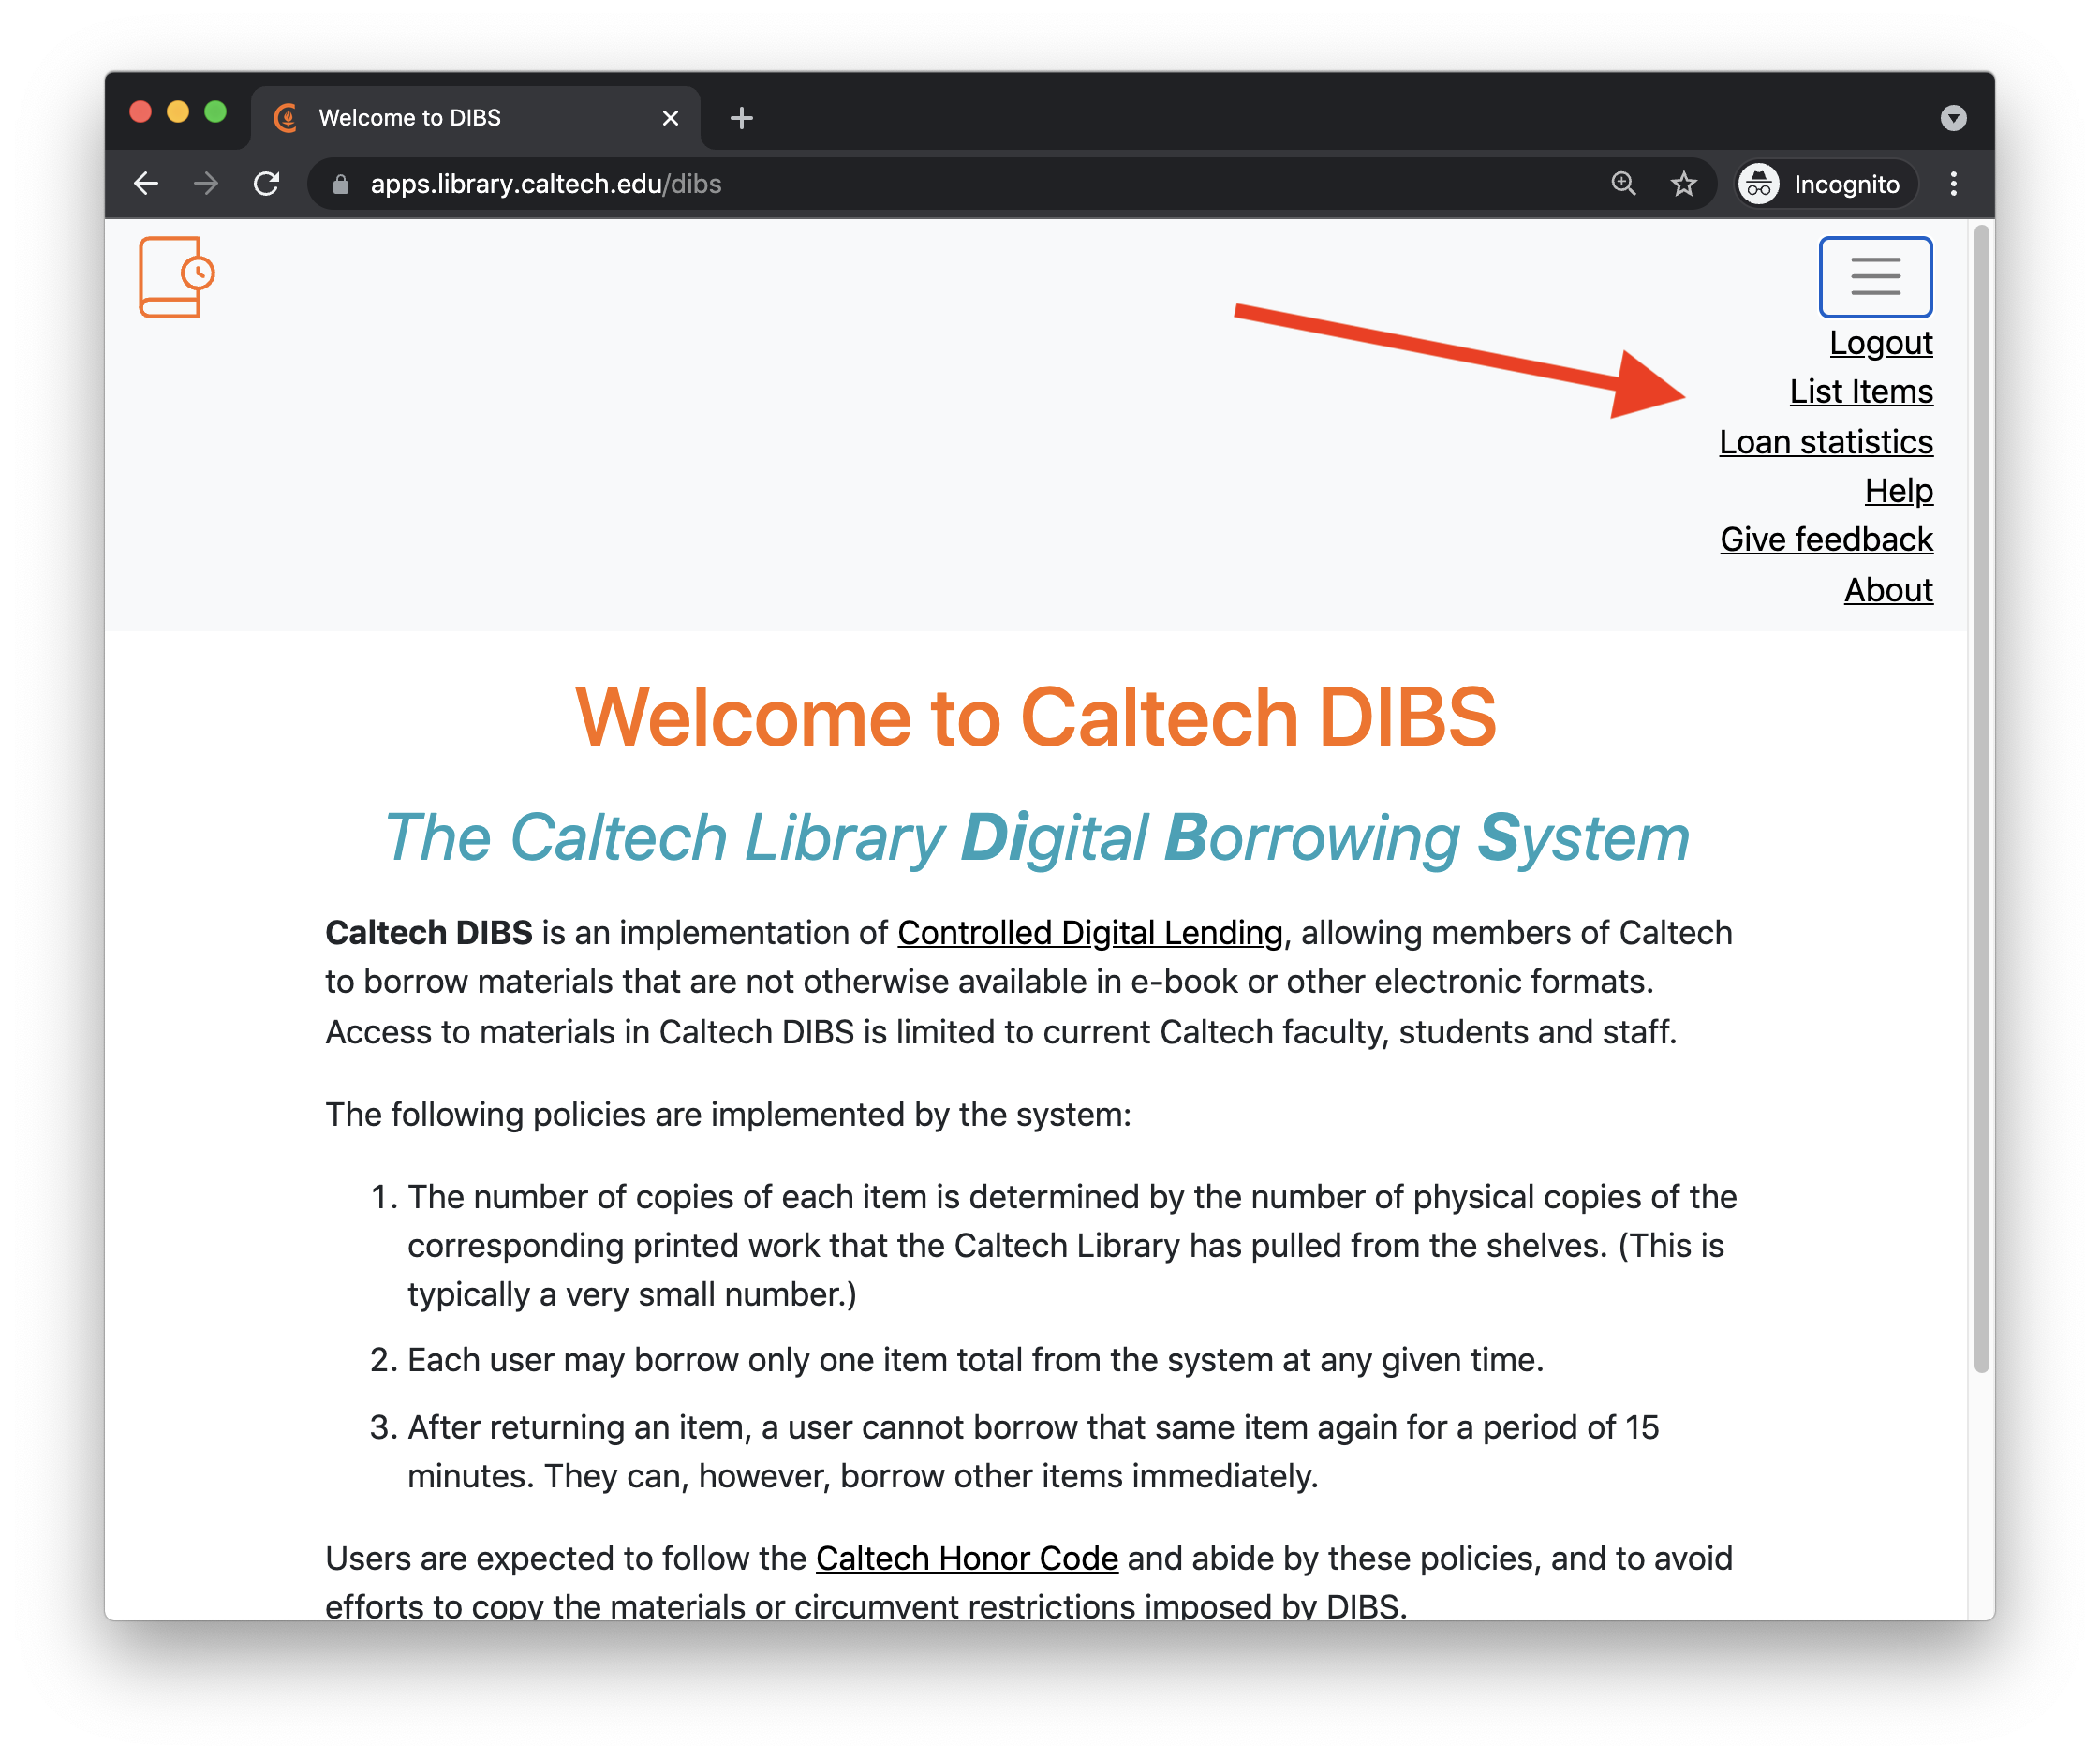
If you cannot access the welcome page, check the shell window for any messages that may provide clues about what went wrong. If you can see the page but do not have the “List” and “Loan statistics” items in the menu, then it means that there is a mismatch between the current user as set by the run-server command line (“dibsuser” in our example here) and the roles configured in DIBS using people-manager. Check that the step described earlier has been performed and the same user names are used in both places.
Using the debug run mode changes the behavior of run-server in various useful ways. For example, it will automatically reload source files if any of them are edited. If you will be doing anything with DIBS such as editing the HTML templates, running with --mode debug is highly recommended.
Running DIBS in production
Note that run-server is not intended for use in production servers. For actual use, you must configure a web server such as Apache to host the system. DIBS comes with an adapter.wsgi and an example Apache conf file for this purpose to help you get started. The latter file configures the web server and tells it to use adapter.wsgi (also provided with DIBS) to define a WSGI application for DIBS.
To start DIBS in this environment, you most likely need to restart the Apache process on your system.
Administrative utilities
In the admin subdirectory of the DIBS source tree, there are a number of administrative command-line utilities for DIBS. They implement operations that (currently) can only be performed by staff running shell commands on the DIBS server. The following sections describe what they are.
export-data: export data from a DIBS database
This program reads a DIBS database file and, based on the options given on the command line, writes one or more files containing the contents of one or more tables from the DIBS database. Each table holds a different kind of model instance, such as Item, History, etc. The default action is to put all the files into one ZIP archive as the output. You can run this program with the -h option to get more information about its usage.
This program and import-data (below) can be useful for migrating servers, backups, and other situations where you want to get the data out of (and possibly back into) the DIBS database.
import-data: import data into a DIBS database
This program is the opposite of export-data; it takes a ZIP archive of JSON files previously exported by export-data (above), and loads a DIBS database using that data. The ZIP archive must contain 4 files corresponding to the 4 database object tables in a DIBS database. The path to the archive file is expected to be the last argument on the command line. You can run it with the -h option to get more information about its usage.
load-mock-data: load sample data into DIBS
When first starting out with DIBS, for testing purposes, you may want to add some sample data. The program load-mock-data can be used for this purpose. It takes no arguments and is intended to be run from the DIBS directory root:
admin/load-mock-data
loan-manager: perform administrative functions on loans
This program can be used to perform some loan management functions on a DIBS server. Currently, it offers functions for listing active and recent loans, as well as forcefully ending active loans on a given item. You can run it with the -h option to get more information about its usage. For example:
admin/loan-manager --list-loans
people-manager: manage user roles in DIBS’s people table
This administrative utility lets you simultaneously (1) add/remove/edit people’s roles in DIBS’s people table, and (2) do the same in a password file used for Apache basic auth (if you use that).
Background: authentication and access control in DIBS
There are 2 layers of access control in DIBS when deployed in a web server:
can an incoming user access any part of DIBS at all?
can the user access DIBS staff pages, or only patron pages?
Layer #1 is implemented in the web server environment, and the details of how it’s done depends on the specifics of the installation. As far as DIBS is concerned, it only cares about whether a user has been authenticated or not. When a page or API endpoint is requested from DIBS, the request environment given to DIBS by the web server will either include a user identity (if the use has been authenticated) or not. DIBS simply refuses access to everything it controls if a user identity is not present in the request environment.
Layer #2 is implemented in DIBS itself. DIBS’s database uses Person objects to distinguish between people known to have staff access (i.e., who can access pages like /list), and everyone else. When a request for a page or an endpoint comes in, DIBS looks for the user identifier in the HTTP request environment given to it from the web server, checks if that user is in the Person table, and checks if the user has a role of library. If the role is library, access to staff pages is granted; if the Person entry doesn’t have a role of library, the user is not shown links to the staff pages nor can they access the relevant endpoints.
Managing users using people-manager
One of people-manager’s purposes is to add and manage entries in DIBS’s Person table. Only users who should have staff access (i.e., have role library) need to be added to the Person table, and in an SSO scenario, that’s all you need to deal with.
In an SSO scenario, the management of users in the authentication system is typically handled by another system and possibly another administrative entity at your institution. In an Apache basic auth scenario, users are listed in a password file managed by the command-line program htpasswd, and the Apache server configuration is set up to read this password file.
If you are using Apache basic auth and htpasswd, and have enabled the relevant variables in the settings.ini file, then people-manager will also manage entries in the password file. Thus, in a basic auth scenario, you can use people-manager to simultaneously add/change users and their roles in the password file and make the corresponding changes in DIBS’s Person table.
Run the program with the option help to get a usage summary.
run-server: start a local DIBS server for testing
For local experimentation and development, the script run-server can be used to start a local DIBS server on your computer. It looks for a file named settings.ini in the current directory or the parent directory, and reads it to set various DIBS configuration variables. The command-line options to run-server can override some of the configuration values in settings.ini.
Run modes
There are 3 run modes available. Two of the modes can be set using the settings.ini file, but are overriden via the option --mode on the command line. If no --mode option is given, then this program uses the RUN_MODE value from settings.ini. In addition, this program offers a third run mode only available using the --mode option. The possible run modes and their effects are as follows:
normal: uses the Pythonmod_wsgi-expressmodule without debugging options. The server will run multiple threads, will not reload if source files are changed, will not reload templates if they are changed, and will not stop for exceptions. It looks for a file namedadapter.wsgiin the current directory and passes it tomod_wsgi. This mode is a close approximation to running DIBS in a basic Apache2mod_wsgienvironment, withadapter.wsgi.verbose: like normal mode, but will produce detailed logging to the terminal. This mode is useful for testing DIBS usingadapter.wsgiinmod_wsgi. Verbose mode is invoked using the option--mode verbose, or settingRUN_MODEtoverbosein settings.ini. (Using--mode verbosewithrun-serveroverrides the value insettings.ini.)debug: this uses Bottle’s development server instead ofmod_wsgi-expressand turns on maximum debugging options. This mode does not useadapter.wsgi. It will turn off template caching, will drop into pdb upon exceptions, and unlikemod_wsgi-express, the Bottle server will also automatically reload any changed source files. In addition, the reloan wait time and loan expirations are set to 1 minute (overriding values set on individual items), and finally, the statistics gathering will include loans by staff users. (Normally, staff users are not included in the statistics to avoid skewing the results.) Debug mode is invoked using the option--mode debug. It has no correspondingRUN_MODEvalue insettings.ini.
Since debug mode uses Bottle’s default server, the normal authentication mechanism is nonfunctional and you will not be able to access most pages unless you define a person using DIBS’s people-manager script (above) and give them the role of library, and then tell run-server the identity of that user. To do this, use option --user with the name of the user you defined. Here is an example of running in debug mode:
admin/people-manager add uname="debuguser" role="library"
admin/run-server --mode debug --debug-user debuguser
This will start a local web server listening on localhost port 8080. You can open a browser window on http://localhost:8080 and you should see the DIBS welcome page, as well as be able to see the “List” and “Loan statistics” options in the pull-down menu from the upper right of the page.
Database file, manifests directory, and IIIF server URL
A number of additional command-line options for run-server allow you to override values set in settings.ini. These are:
--database: override the value ofDATABASE_FILE--manifests: override the value ofMANIFEST_DIR--iiif-url: override the value ofIIIF_BASE_URL
Please consult the comments in settings.ini or the DIBS documentation for more information about the purpose of these configuration variables.
Additional options
In a live server, the default base URL for DIBS is normally set by the Apache2 configuration. For the local server started by this program, the default is http://localhost:8080. The option --base-url can be used to change this. The value given to --base-url should contain the protocol, hostname, port (if needed) and any additional path elements of the root of DIBS on the server; e.g., “https://library.example.edu/dibs”. (Note: the path component is ignored when running in debug mode.)
By default, run-server looks for a WSGI adapter named adapter.wsgi in the current directory. The option --adapter can be used to tell run-server to use a different file.
set-server-permissions: set essential directory permissions
This program sets certain basic file and directory permissions for a typical server configuration of DIBS. It only affects a small number of items that will not have the correct permissions after cloning the git repository. The arguments --owner and --group can be used to choose the owner and group to be used for the permissions. Normally, this would be the Apache server user and group. For example, if the user name is “www-data” and the group name is “www-data”, then you would run this program as follows:
admin/set-server-permissions --owner www-data --group www-data
test-folio-token: check the FOLIO token is still valid
When using FOLIO as the LSP, DIBS needs to contact FOLIO for metadata when staff add new items to DIBS. FOLIO uses API tokens for authentication, and those tokens eventually get invalidated. When that happens, DIBS calls will fail. Consequently, it’s a good idea to periodically test the FOLIO credentials and update the token stored in the settings.ini file. The utility test-folio-token is useful for that purpose.
Without any arguments, it will simply return a non-zero status number if the credentials are invalid. If given the --slack argument, the value must be in the form slack-channel:slack-token; in that case, this program will post a message to the channel if the FOLIO credentials are invalid. Here is an example of a crontab line for daily testing of the FOLIO credentials and posting to a (fake) Slack channel named “my-channel”:
0 8 * * * /path/to/dibs/admin/test-folio-token --slack my-channel:xoxb-895-asfd123
update-item-data: update item records with current values from LSP
This program reads the DIBS database file, compares every item’s metadata fields to the values of the corresponding record in the LSP, displays the differences (if any), and offers to update the DIBS objects to match the LSP records. Example usage:
admin/update-item-data
update-item-data can be run on a live server. At Caltech, we wrote this program because our catalog search service (EDS – EBSCO Discovery Service) changed the permalink scheme on multiple occasions, causing the DIBS links to item description pages to become invalid. Since the links are stored in the DIBS database when new items are added, there needs to be a method to update the links as needed. We wrote update-item-data for that purpose.